
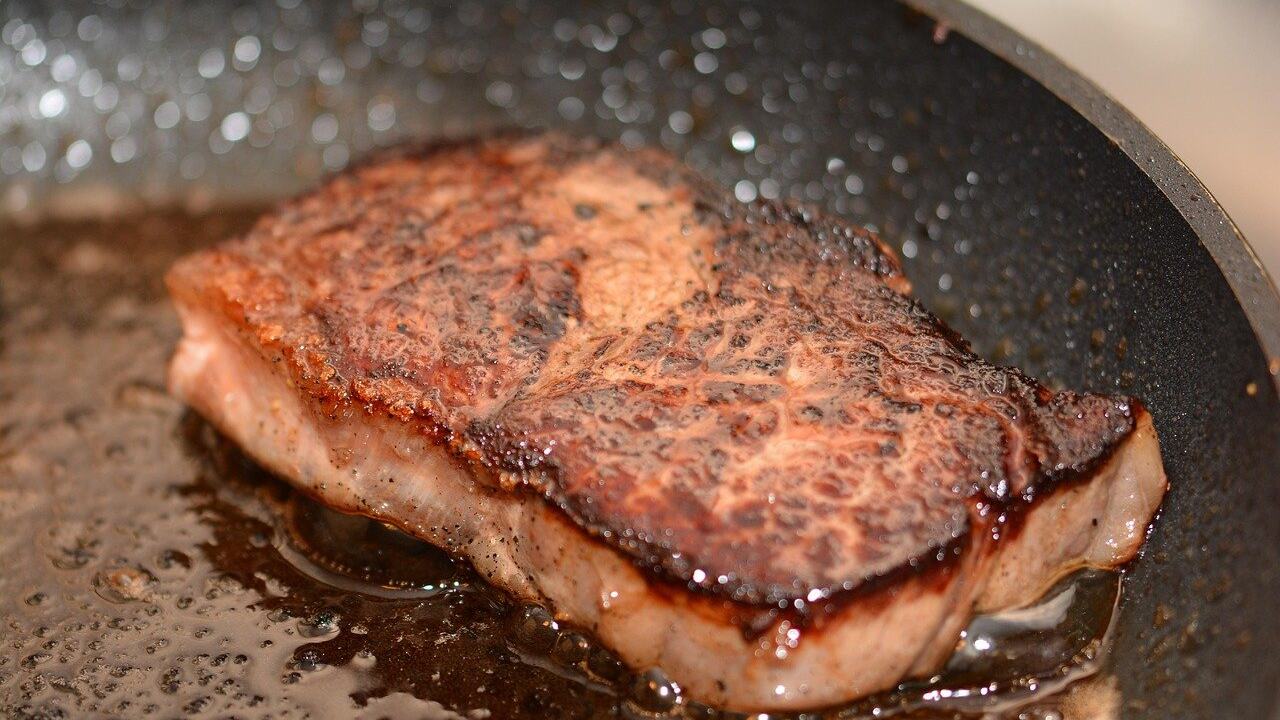
A thick steak hits the pan and comes out grey around the edges with a raw centre. A reverse sear steak avoids that by cooking gently first and searing hot at the end.
Quick answer: choose a steak at least 1.5 inches thick. Roast it on a wire rack in an oven set between 225 and 275 F, pull it about 15 F below your target temperature, rest it, then sear it for about 30 seconds per side over high heat.
Lean cuts reward this gentle approach, so for the wider picture see how to cook grass fed steak, which collects our steak recipes. This page covers the technique itself, with an oven version, a grill version and the checkpoints that tell you when to stop.
Choose a steak that suits the method
Reverse searing means you cook gently over indirect heat, then sear over high heat. That is the opposite order to the classic hot-pan-first method. Starting low also leaves the surface drier, which gives a crust that sears more easily and evenly.
Thickness decides whether it is worth doing. One published method reverse sears almost any steak at least 1.5 inches thick and cooks steaks under about 1.5 inches thick hot and fast instead. The same recipe warns against butterflied backstrap or cutlets, which are too thin for a slow first stage. The method cares about thickness, not the name of the cut, so a thick sirloin and a thick ribeye are treated the same way.
Before you start, gather the following:
- Salt ahead of time. Season at least 45 minutes before cooking, according to this method, which also says an overnight salt is better.
- A wire rack and baking sheet. They keep the steak out of its own juices in the oven.
- A probe thermometer. An oven-safe leave-in probe lets you watch the temperature without opening the door repeatedly.
- A cast iron skillet or a hot grill. You need a surface that holds high heat for the final sear.
Oven stage: the simplest version
The oven stage is the part most people get wrong by rushing, so keep it plain. Work through these actions in order.
- Place the steak on a wire rack set over a baking sheet. The rack matters because it prevents the steak from steaming, which would get in the way of a good sear.
- Set the oven to a low temperature. Between 225 and 275 degrees F is the range given for the indirect portion.
- Insert the probe at the thickest point of the steak and leave it in while the steak roasts.
- Roast until the probe reaches your pull temperature (see the next section), then take the steak out.
Oven temperature and timing
A low oven temperature gives you more control over doneness. For a sense of scale, a 2-inch steak takes roughly 45 to 55 minutes at 250 F. One restaurant-style method preheats to 275 F, the top of the range.
If you are unsure, start near the middle of the range and use the probe, not the clock. Treat the time as a guide for a steak of that thickness. A thinner steak will be ready sooner and a thicker one later, so begin watching the probe well before the estimate runs out.
Pull temperature targets
You remove the steak before it reaches the temperature you want to eat it at. The sear and the steak’s own residual heat close the gap, which is carryover cooking. Pulling at the final temperature would overshoot it.
| Approach | Final target | Pull from oven | Planning use |
|---|---|---|---|
| General rule | Any doneness | About 15 F below target | Subtract before you start, whatever level of doneness you want. |
| Medium-rare, single figure | 130 F | 115 F | The simplest number to remember for medium-rare. |
| Medium-rare, range | 125 to 130 F | 110 to 115 F | Choose the lower pair if you want the steak nearer 125 F. |
These figures come from the MeatEater reverse sear recipe and a published reverse sear method.
Not every method uses the same gap. Another guide stops the oven stage when the steak is about 5 to 10 F below the final temperature you want, and notes that the steak will finish cooking in the pan. The wider gap is the safer choice for a first attempt, since a steak that comes out slightly under target can still be seared a touch longer, while an overshot one cannot be rescued. The narrower gap suits you once you know how your skillet behaves. For other doneness levels, check our steak doneness temperatures and subtract the gap that fits your method.
Rest, then sear in a cast iron skillet
Rest between stages
Rest the steak for 5 to 10 minutes after it leaves the oven. Use that time to heat the pan, so the steak goes straight from rest to sear.
The final sear
- Heat a cast iron skillet over medium-high until it is very hot.
- Add a neutral oil with a high smoke point, such as grapeseed oil. Another method uses a tablespoon of vegetable oil or similar with a high smoke point.
- Lay the steak in the pan and sear for about 30 seconds on each side.
- Move the steak to a plate and serve.
A cast iron skillet is a perfect choice for this stage because it holds heat well. For more on pan technique, see how to cook steak in cast iron skillet.
Reverse sear on a grill
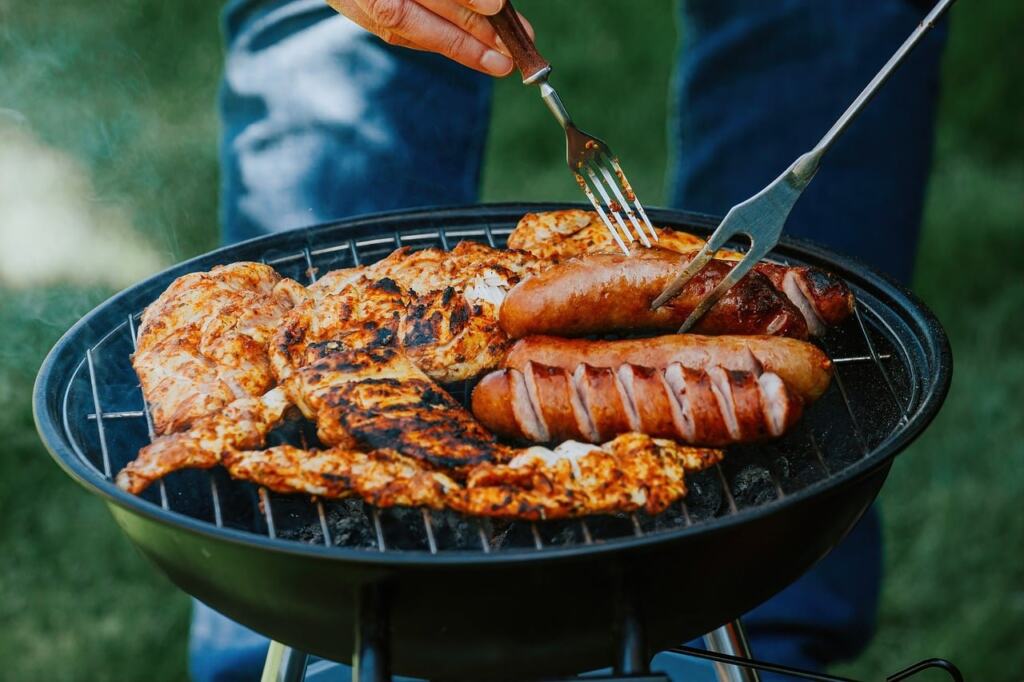
A two-zone grill gives you the same two stages as an oven and a skillet. You make a hot side for searing and a cooler indirect side for the gentle cook. Use this version when the oven is busy or you want smoke, and stay with the oven when the weather or the fire is unpredictable.
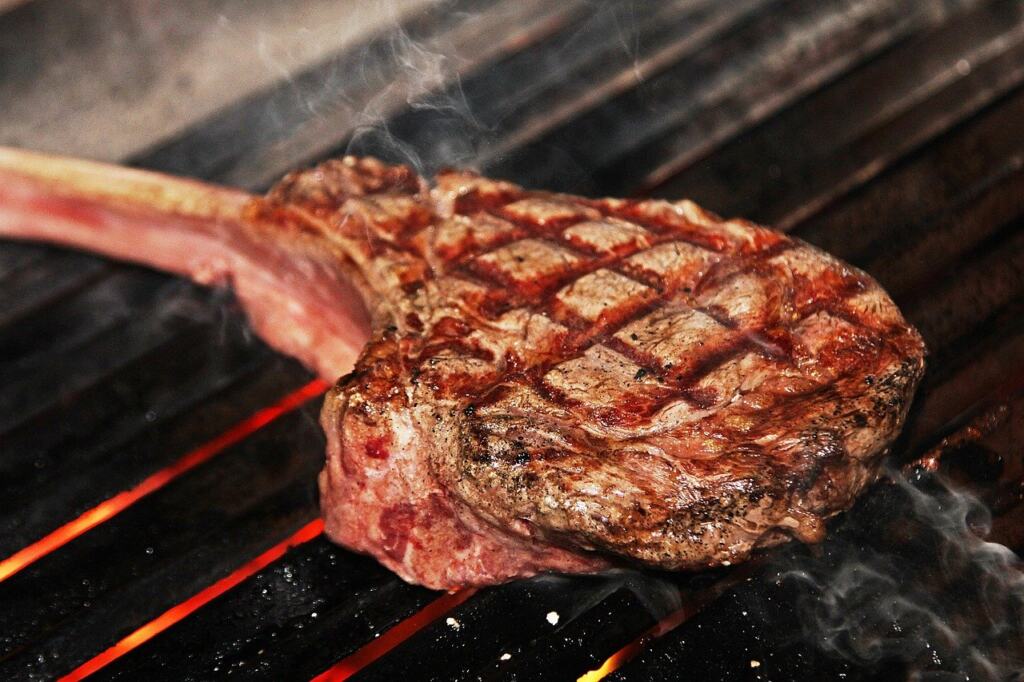
Build the two zones
Arrange the fuel so only part of the grill is hot. The other part must stay free of direct flame, because the steak spends most of its time there. The same 225 to 275 F range given for an oven or smoker is a sensible target for the cooler side, and the probe tells you how quickly the steak is actually cooking.
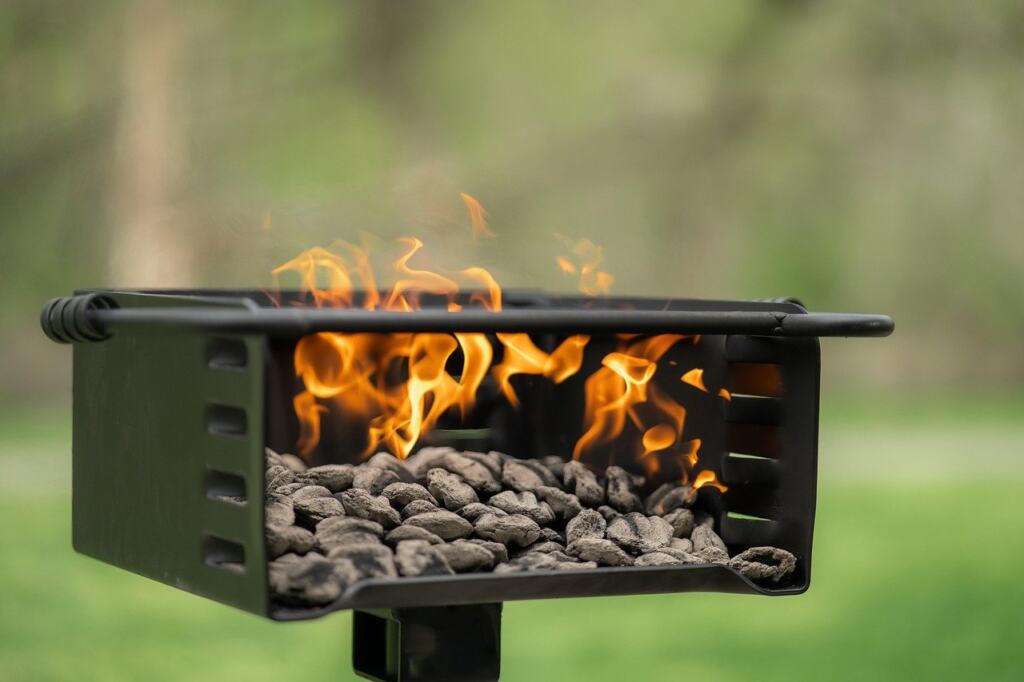
Cook on the indirect side
Put the steak on the cooler side with the probe in its thickest point. Use the same pull temperatures as in the oven table above, and rest the steak for the same 5 to 10 minutes before searing. While it rests, let the hot side recover to full heat.
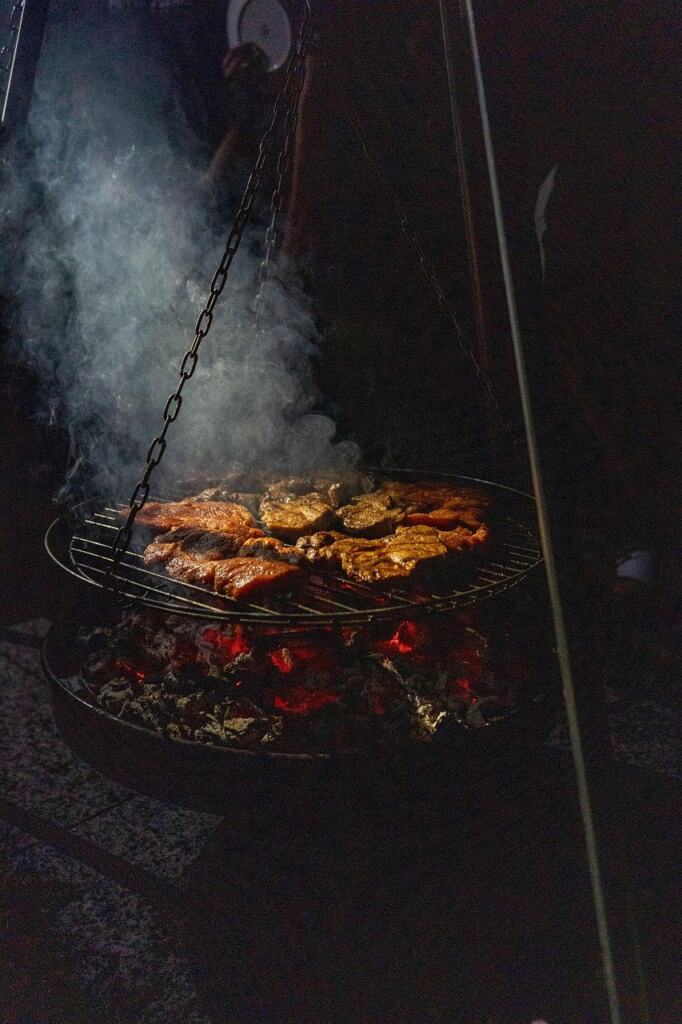
Sear over direct heat
Move the steak over the hot side and sear it for about 30 seconds on each side. Keep the steak moving only when it is time to turn it, and take it off as soon as the crust has browned.
Fixes and stopping points
Use these checkpoints when something looks off. Each one tells you whether to adjust, wait or change method.
- Pale or steamed crust. Check that the steak sat on a rack, not in its juices, and that the skillet was properly hot before the steak went in. The oven stage should already have dried the surface.
- The oven stage is taking too long. A lower setting takes much longer. If time matters, move toward the top of the 225 to 275 F range next time instead of opening the door more often.
- The steak finished past your target. Pull earlier next time, using the wider gap in the table, because the steak keeps cooking in the pan.
- The steak is thinner than expected. Stop and cook it hot and fast instead. Steaks under about 1.5 inches thick do not give the oven stage enough to do.
Frequently asked questions
Should I use the lowest oven setting I can?
A lower setting yields a juicier steak because the heat is gentle, but the cook takes much longer. The lower temperature also gives more control, so there is less risk of overcooking.
Why keep the sear so short?
High heat causes muscle fibres to contract and squeeze out moisture. The oven has already done the gentle cooking, so the sear only needs to brown the surface.
What are the oven and pull temperatures in Celsius?
One metric method preheats the oven to 130 C (gas mark 1) and tests the steak every 10 minutes. It gives a rare final temperature of 50 C with removal at 45 C, and medium-rare at 55 C with removal at 50 C, as set out in that guide.
Does the steak need another rest after searing?
No. Because the steak rested before the final sear, it does not need another rest and can go straight to the plate.